Hey ![]()
I was provided with exr shot and aces CG color Space.
I import as aces CG 16bit.
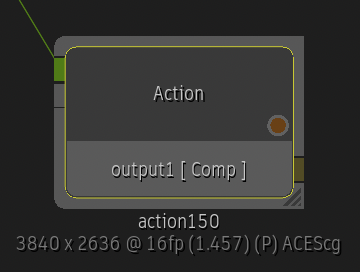
The plate is great but when I use a comp node or action the highlight above 1 are clamp and they look grey instead of white.
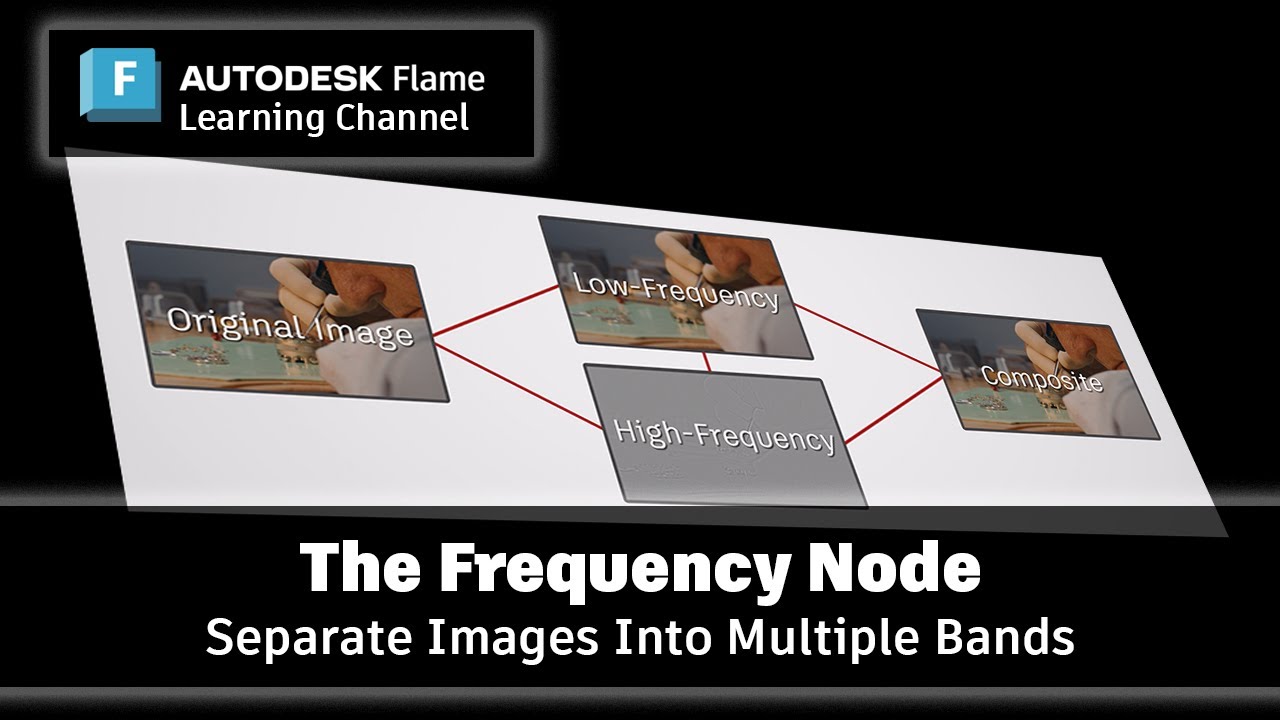
Had this issue with frequency separation.
What can cause this ?
Check the clamp setting in the action and comp nodes. They should be set to off.
Also make sure your action color space is set to Aces as well.
@Jerem - it’s most likely your color policy.
Review the color policy preferences and decide how you want to process within action.
It could also be the color space of the action itself.
Post snapshots of your settings and someone will find a solution for you.
@philm @Sinan Thank you for your feedback !
I tried changing Action color space to ACES CG but nothing changed.
Here is some screen of my setting.

Let me know if you see something.
When do you see it clip? Timeline? If so, you’re probably rendering a resize soft effect before the color management. happens. Render set to Frame not Layer based.
Thank @randy I’m in a batch group. Actually found a fix doing this operation converting acesCG to CCT and going back to aces CG after. look good and math are almost the same but don’t know if it’s the best fix…
Another hypothesis, on both operation in comp and action I was applying as front a highpass set to linear light. Maybe photoshop linear light is not acesCG Friendly ?
@Jerem - it appears that you found your own answer - color management is a curse and a blessing.
In my experience… it is not friendly. I always do frequency separation in CCT (mainly when I’m doing beauty work)
Not sure if this applies to Flame, but one constant caveat of the Linear Light mode in Photoshop in conjunction with FS in other platforms is that it only works in 32bit float.
Also I assume all media was tagged? EXR often uses the metadata so it should be automatic. But if one is unknown, not sure if auto-convert works.
Photoshop Linear Light does in fact clip above 1.
Jeff mentions this in his latest video.
Skip to 3:15
Thank @randy for finding this ! And of course @Jeff for this nice video !
I should definitely update to avoid this
It’s a second solution with CCT
Definitely happy to help, but before you do I’ll leave you with this one:
While I was making that video and learning a lot more about the world of Frequency Separation than I had previously known, I learned that the Linear Light operation is only needed when going down one pathway, but there are multiple pathways in Frequency Separation. I’ll post the schematic and also what the high-pass looks like for each of these because why not.
50% Grey (Linear Light)
The one that I was using for a while and the one that I think is passed around a lot. This 50% gray approach is more “palatable” to work with and look at, but as you’ve discovered, Photoshop Linear Light clamps values above 1.
Divide & Multiply
This gets you almost looking like the 50% grey approach, but it’s just bright, not 50% gray, so it’s a bit harder to work with, but it is definitely possible to adjust your viewer to get it “feeling” more like the 50% grey.
Subtract & Add
This looks nothing like the brighter counterparts, so it’s just “different math” and thus different feel and way of viewing this data, but it’s also getting you where you need to go.
In the end, if you can’t upgrade to 2025.1 just yet to enjoy the Flame Linear Light or the Frequency Node, then this could be an alternative that doesn’t force you to clamp the image but still allows you to use Frequency Separation.


