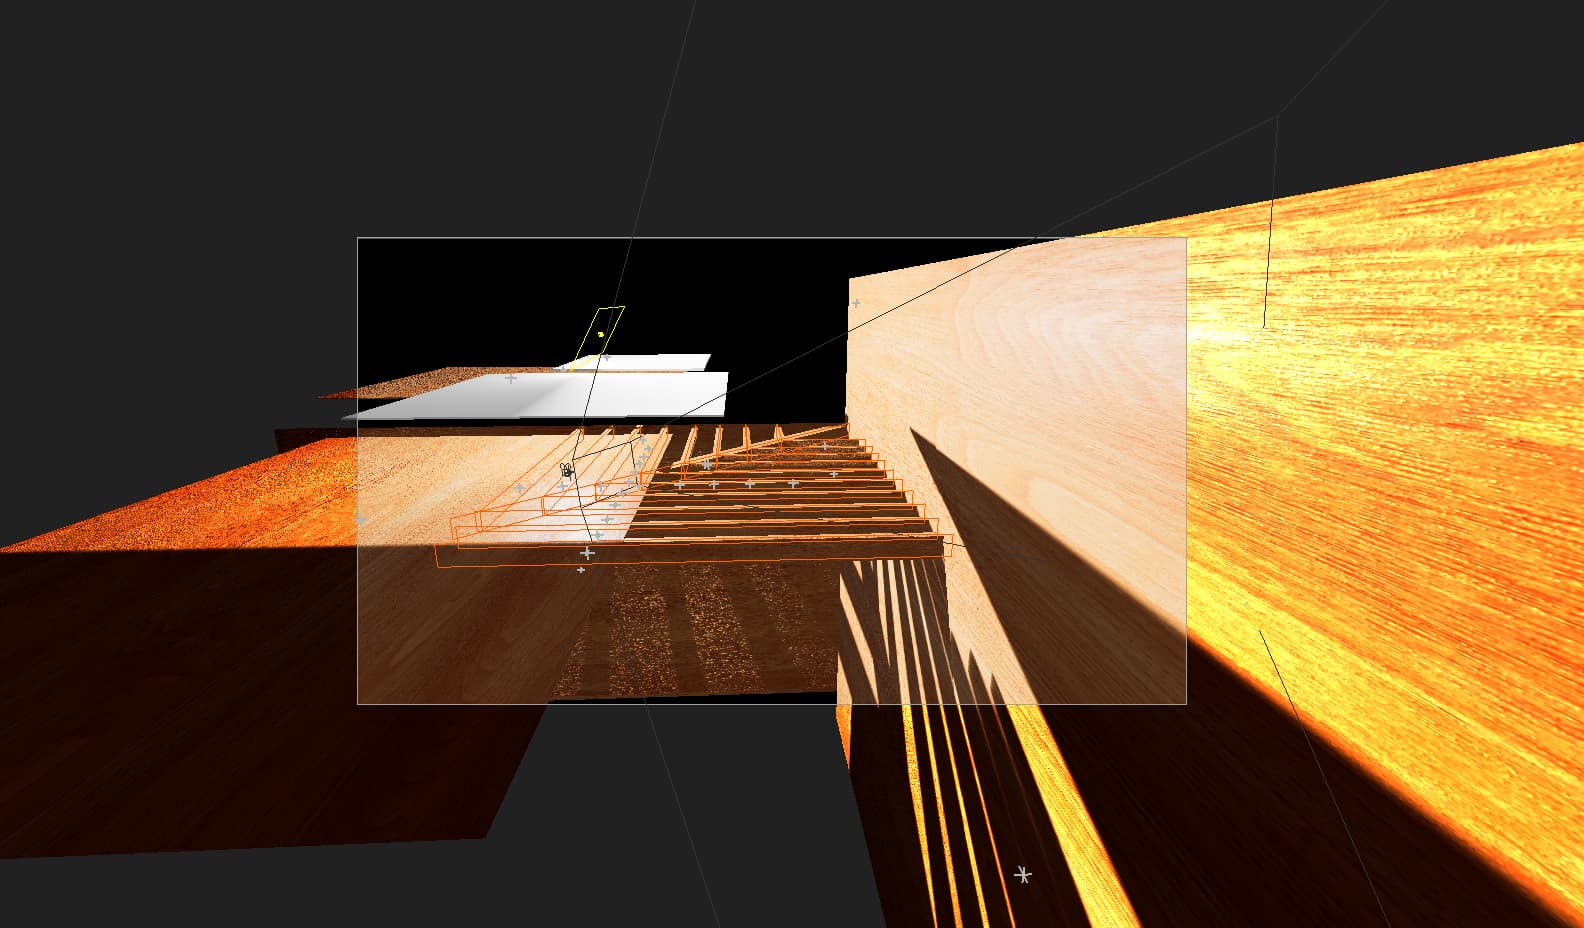
I’ve set myself a challenge: to light a cg object in action without a cg dept. I have no idea where to start. I’ve got the object and the track and if all works. However without Arnold or Redshift it all looks a bit flat snd lifeless. Anyone got any tips?
Just in general about this though, I would start with no light on your object, then add lights as desired. So set your key light as your primary, then touch in your fills, etc. Don’t forget you can shape lights with their cones, as well as using gmasks to constrain their effects. You can also use negative values on lights to darken.
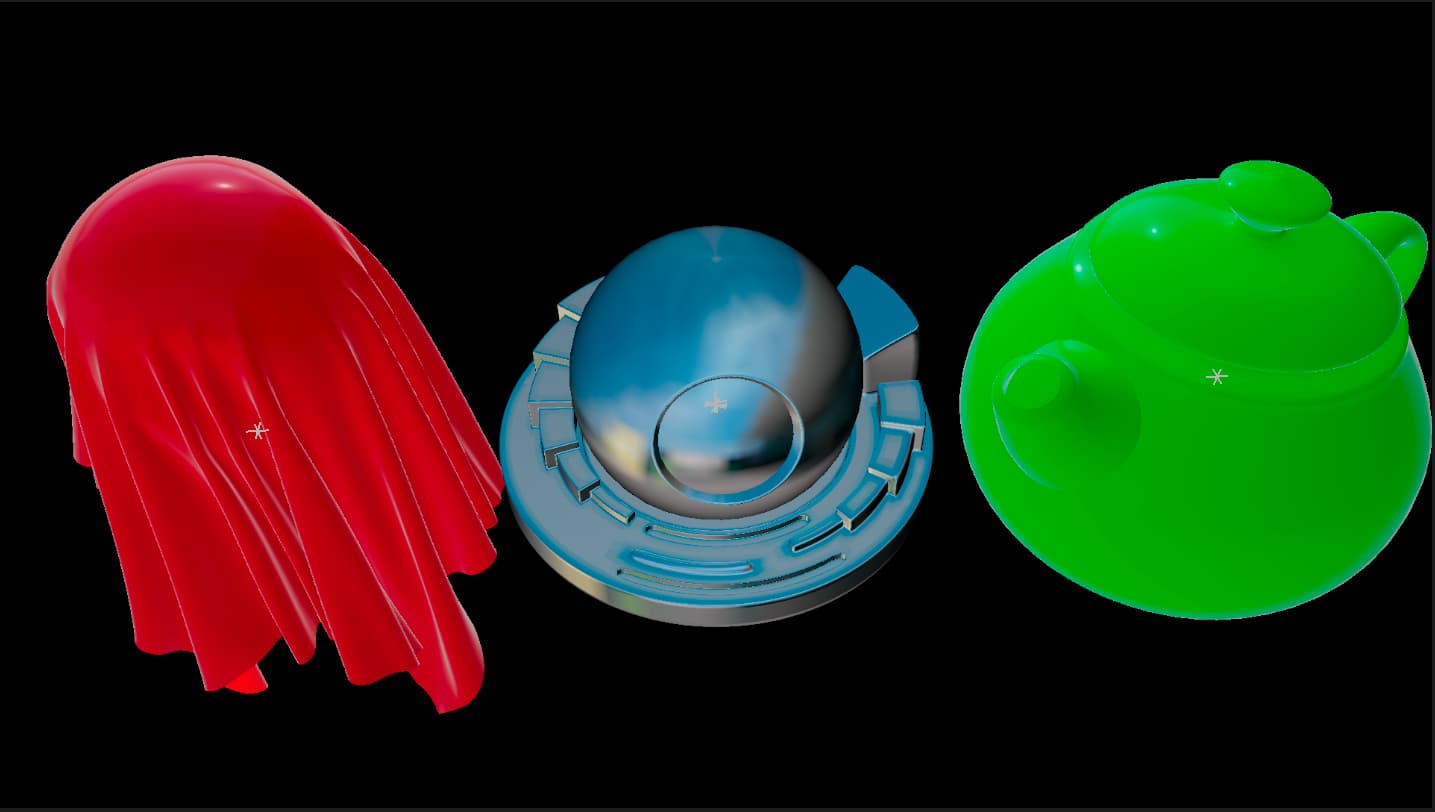
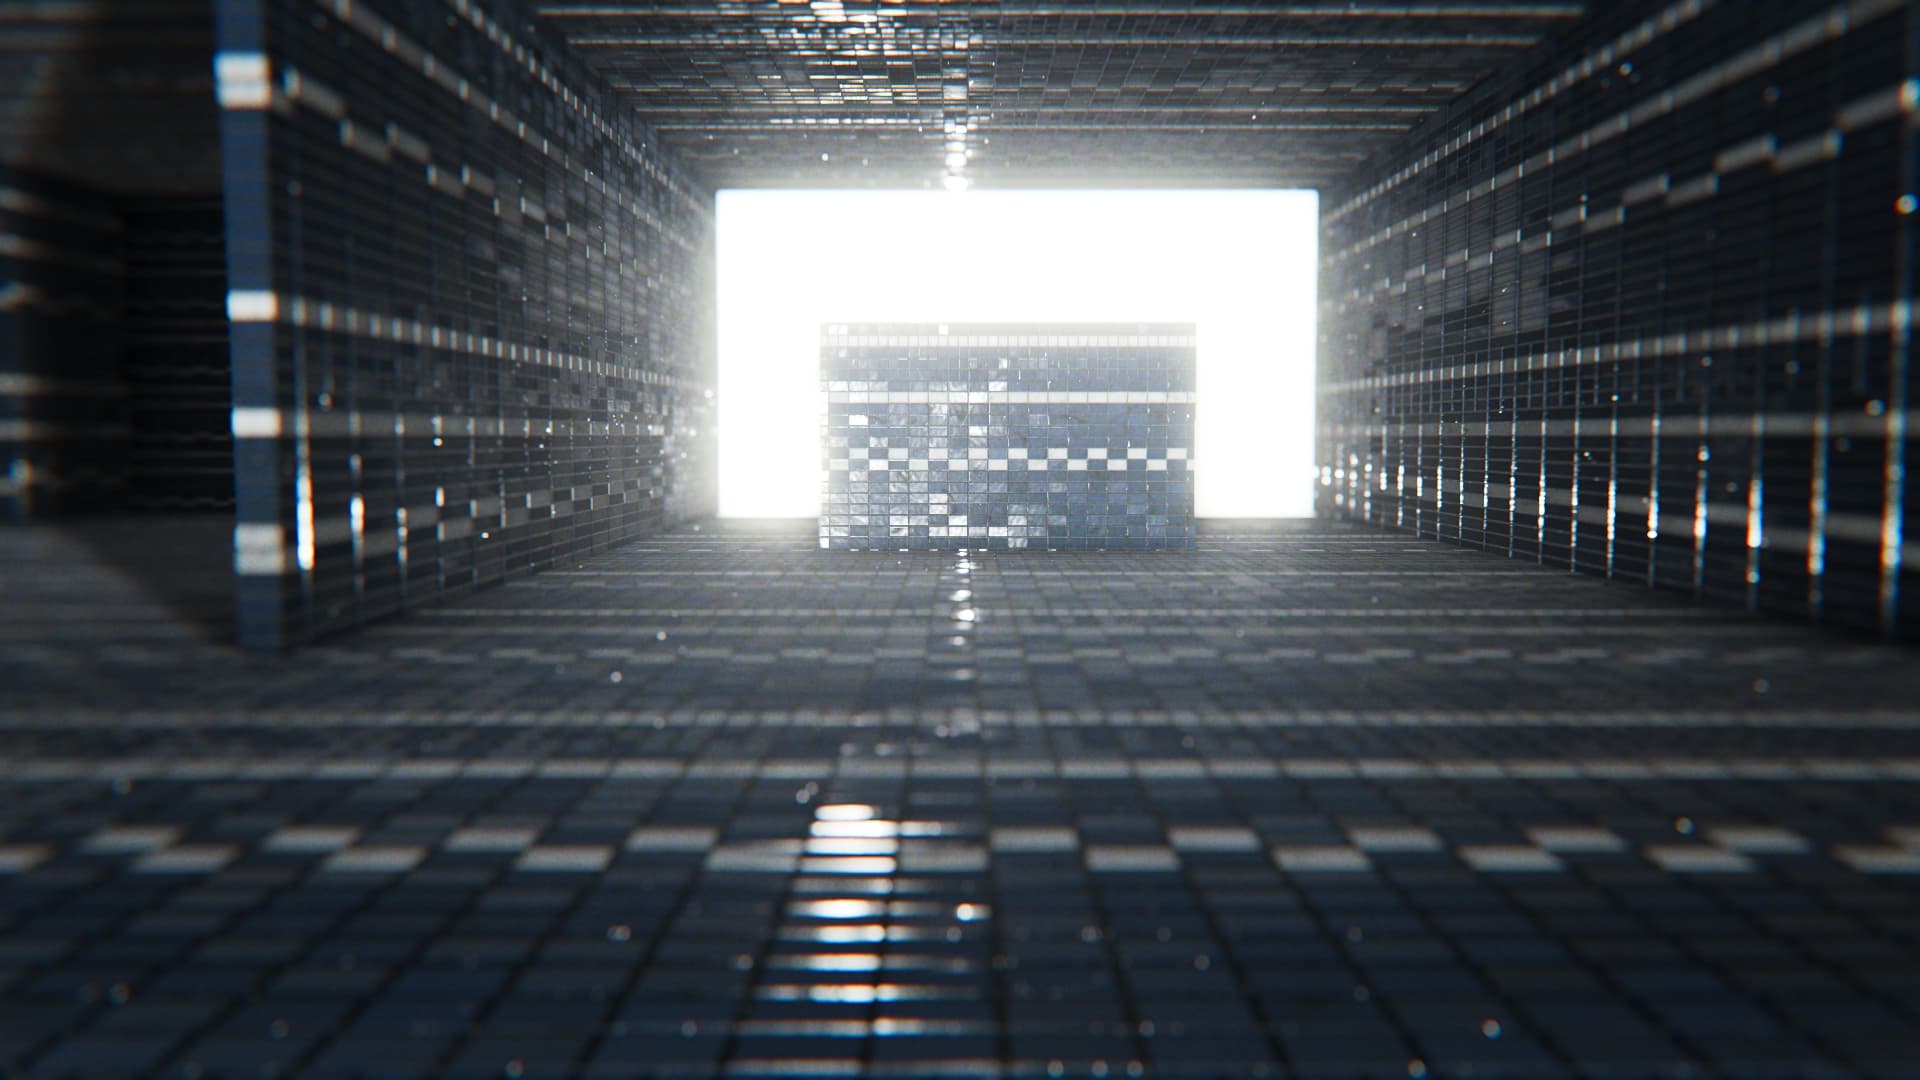
Once your general lighting is set up, then start playing with all the IBL, PBR, map options. You can get some quite nice, believable effects in a lot of situations.
There are so many ways to do all this though – it will take some playing around.
Here’s the thing. It’s a train in a station. The building has a glass roof do the light is coming from the sun. In my experience, the lights even when set to ambient just don’t cut the mustard. I’m still going to give it a nudge though.
I mean it is theoretically possible. But to make it look close to real, you would need various different parts of the train as separate geos & materials – different parts react to the same light differently. Otherwise you risk it looking like one big all the same surface, drifting into 1980’s type CG… It’s a lot of work for such a large and complex object.
I’d use an IBL on the camera then use various spotlights to to highlight or darken areas. Using negative values on brightness will suck light out of the scene.
Substance PBR textures are great adding realism.
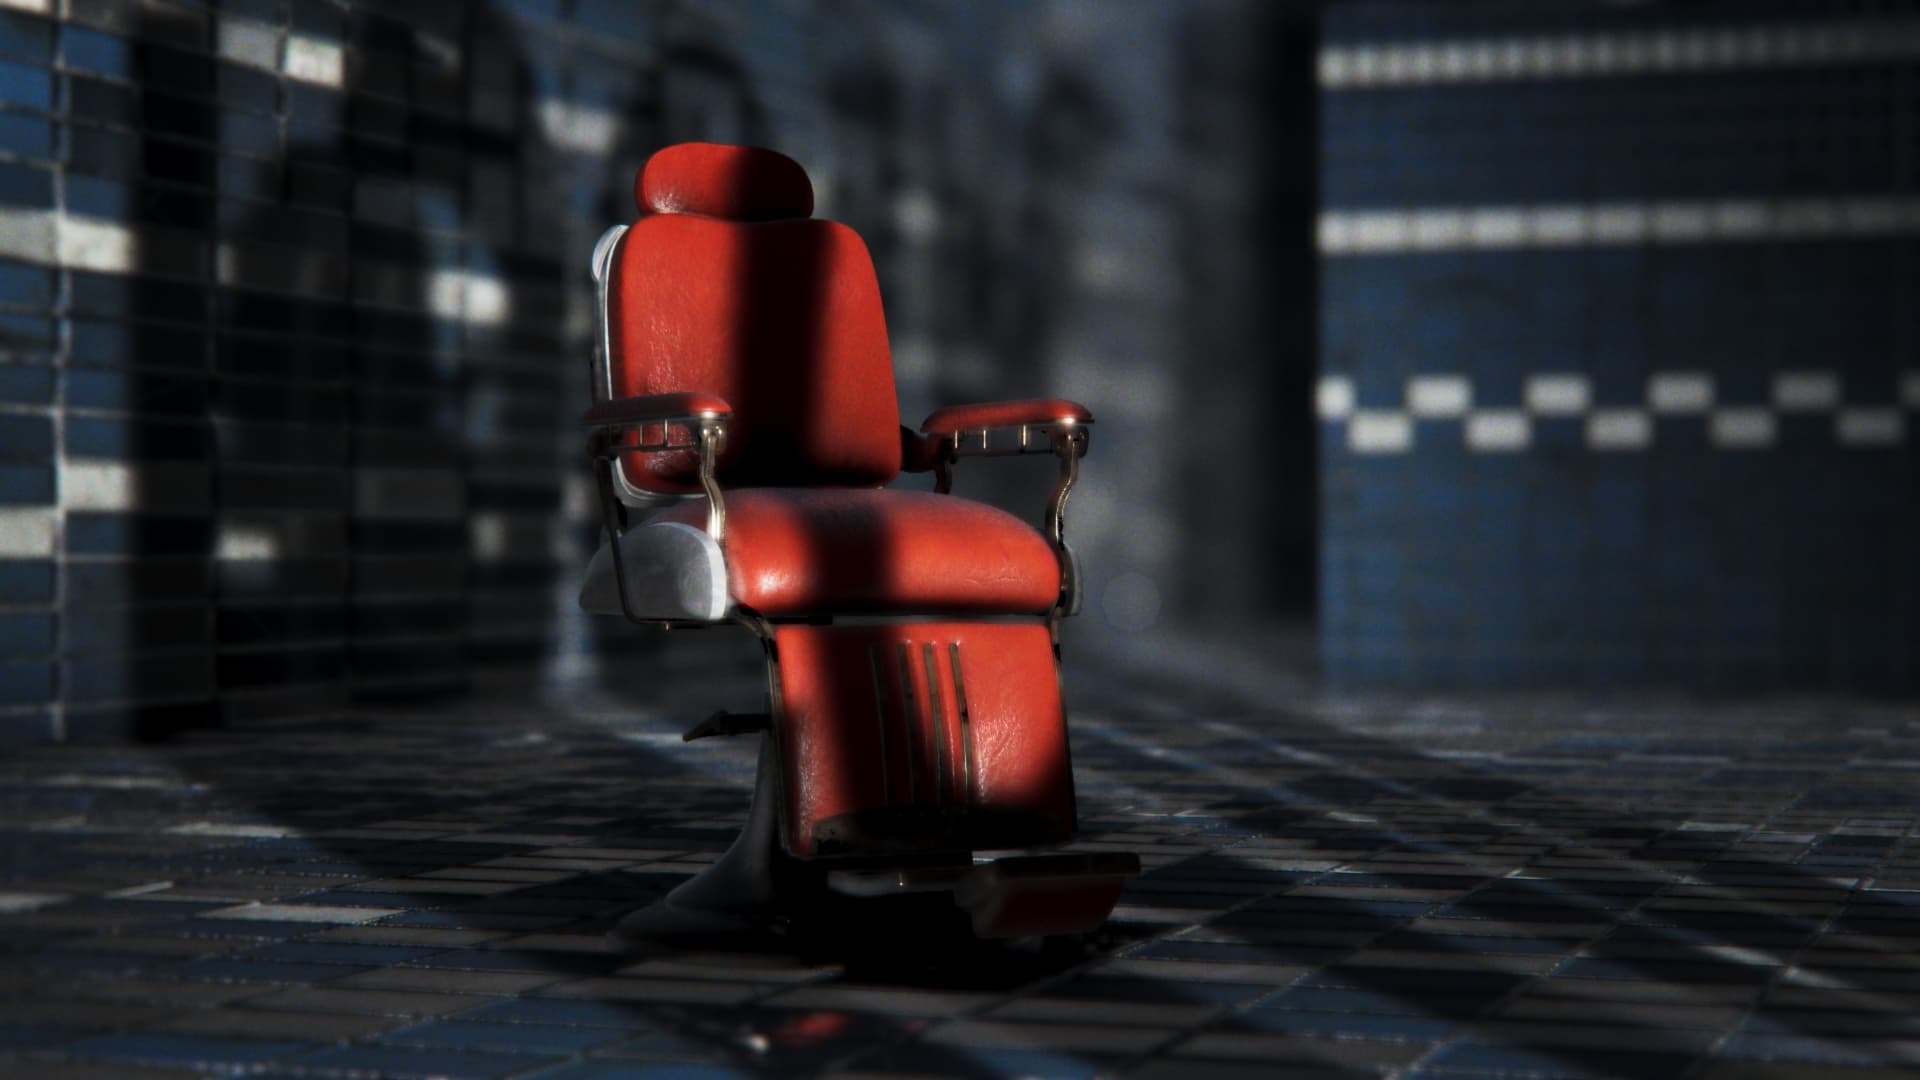
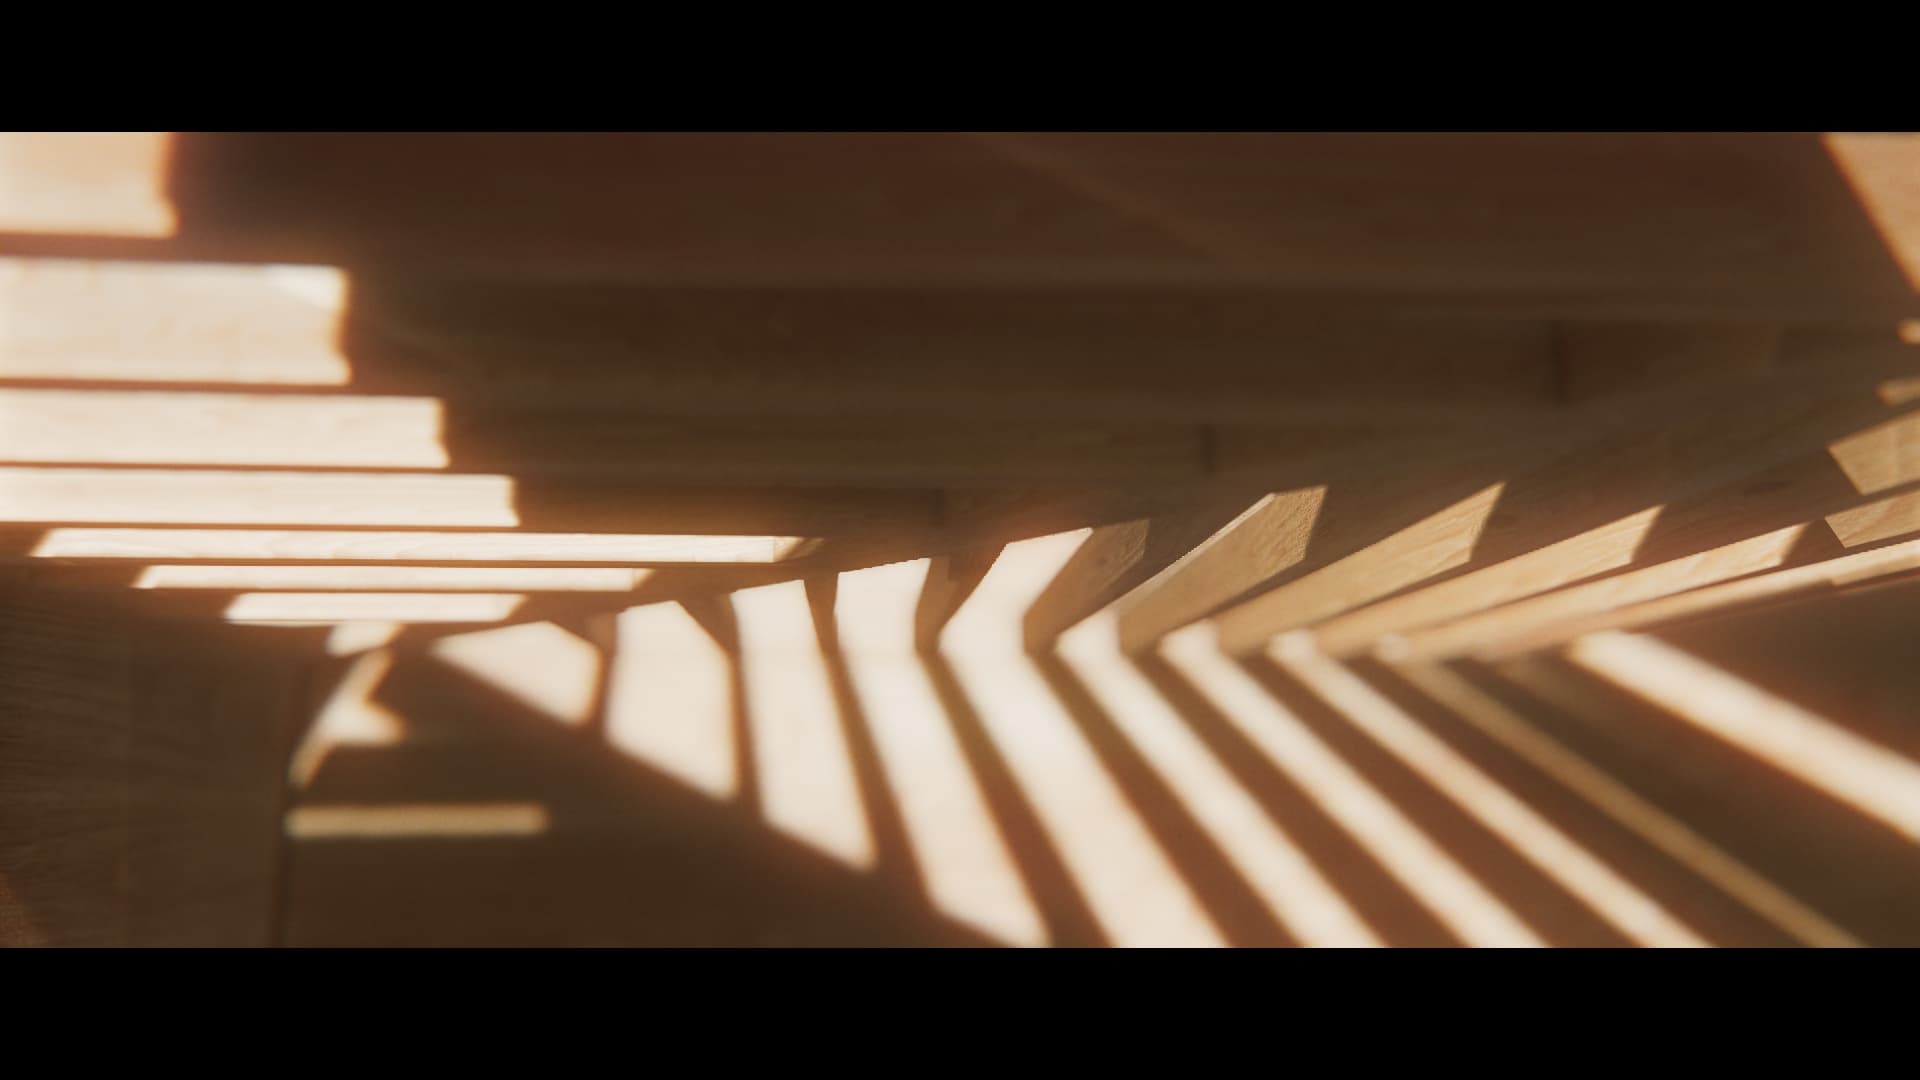
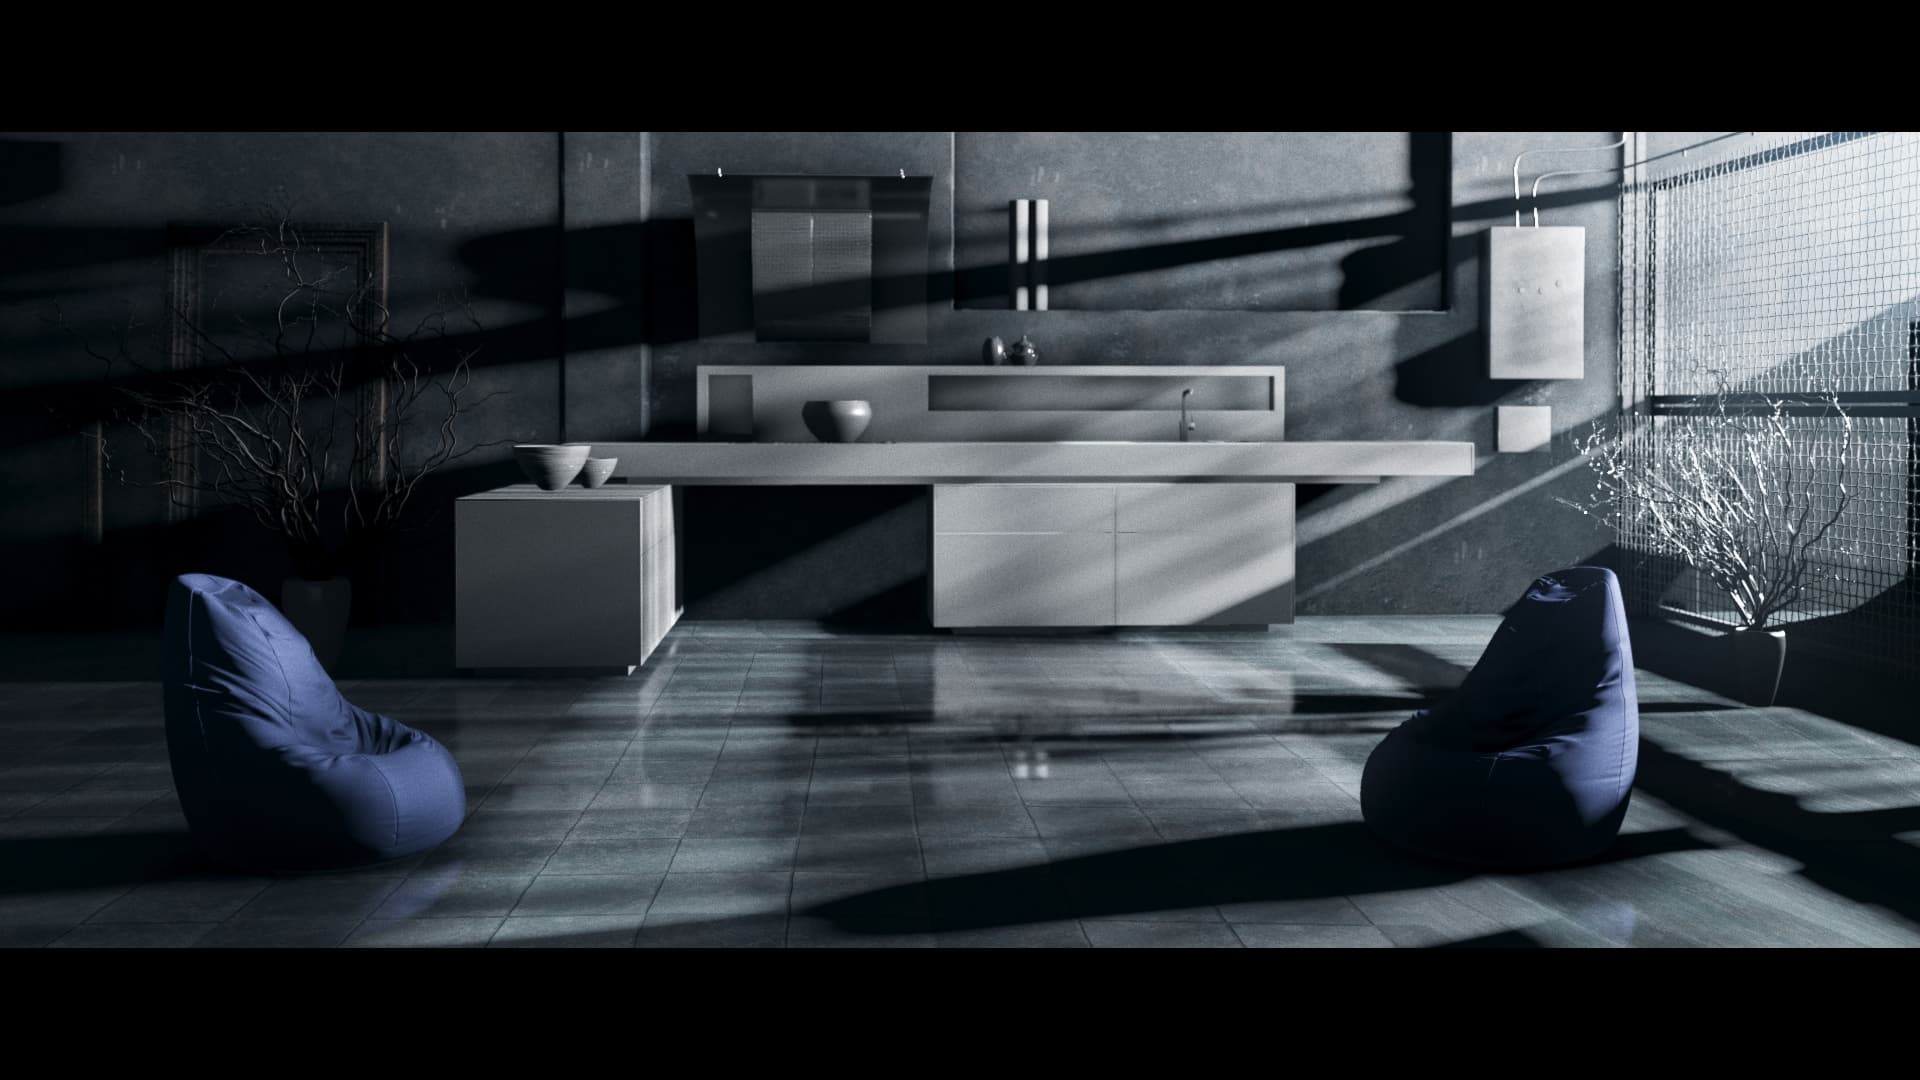
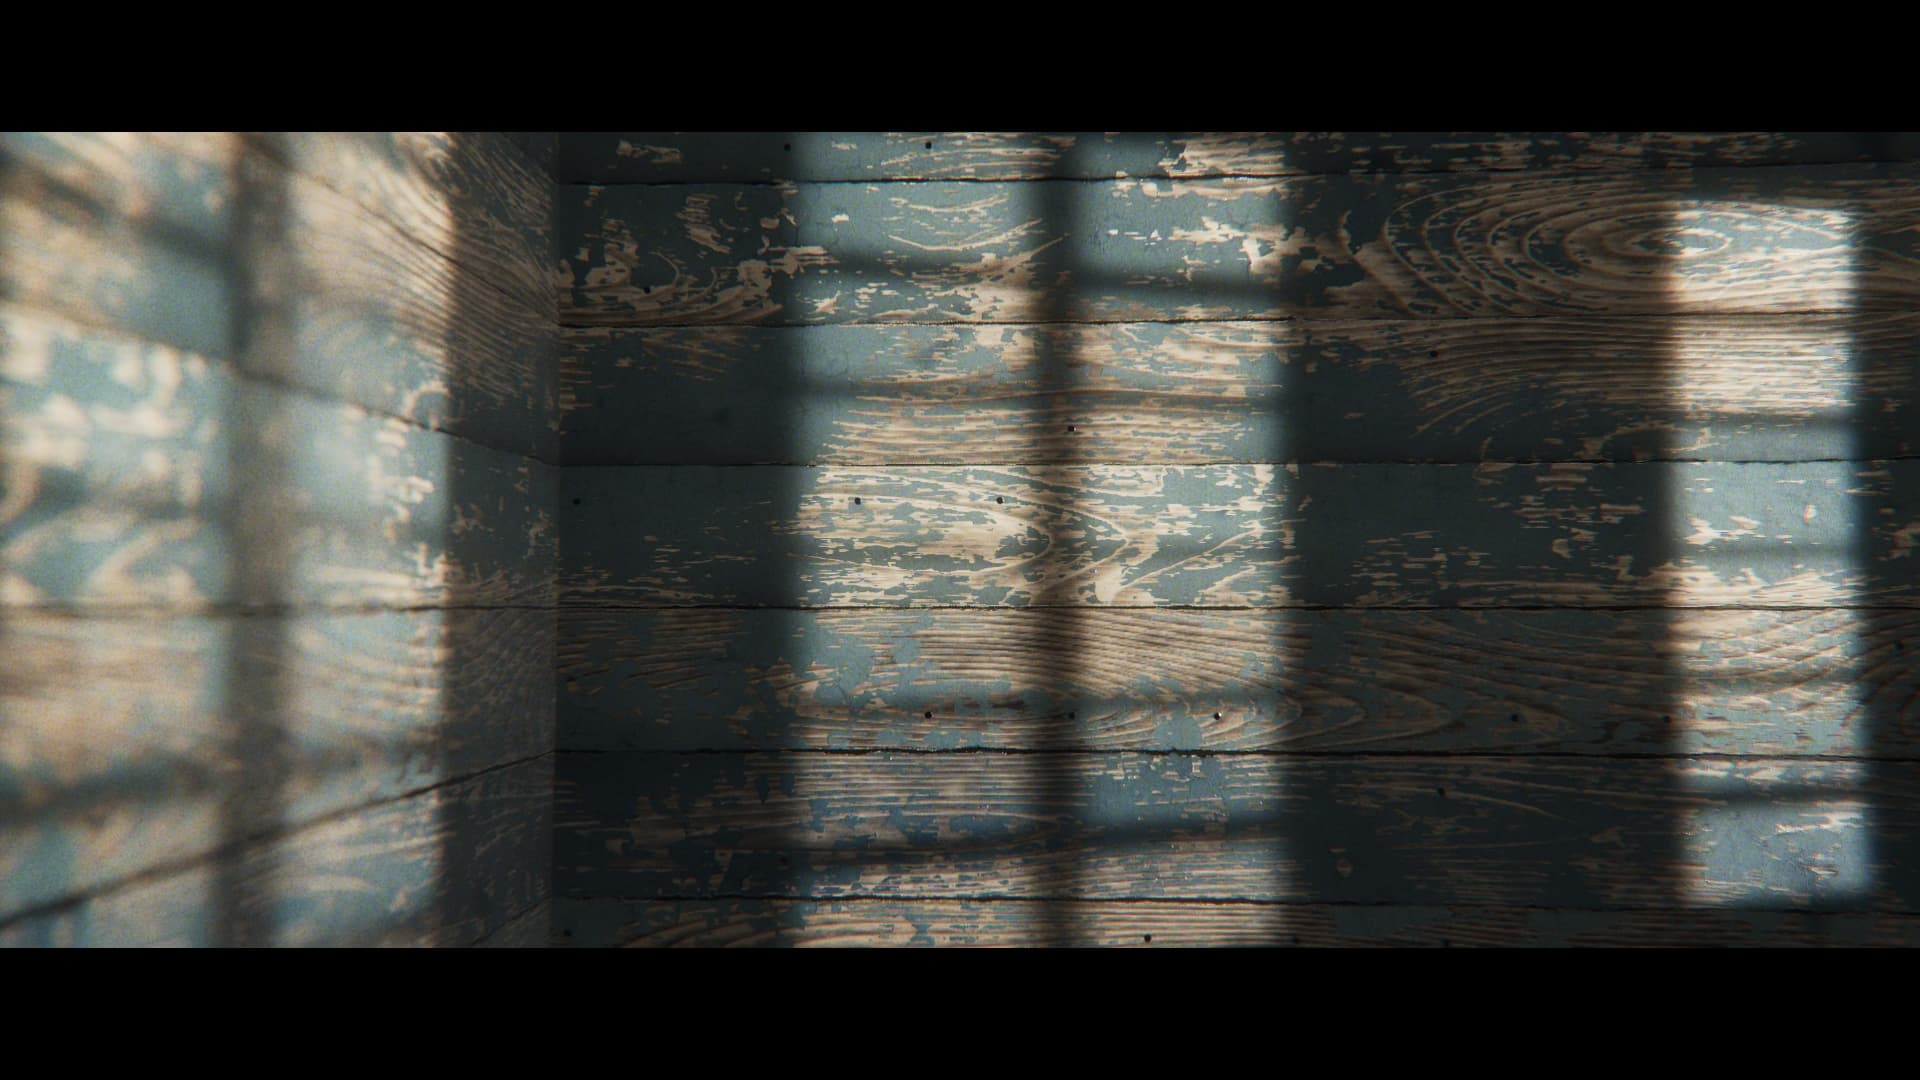
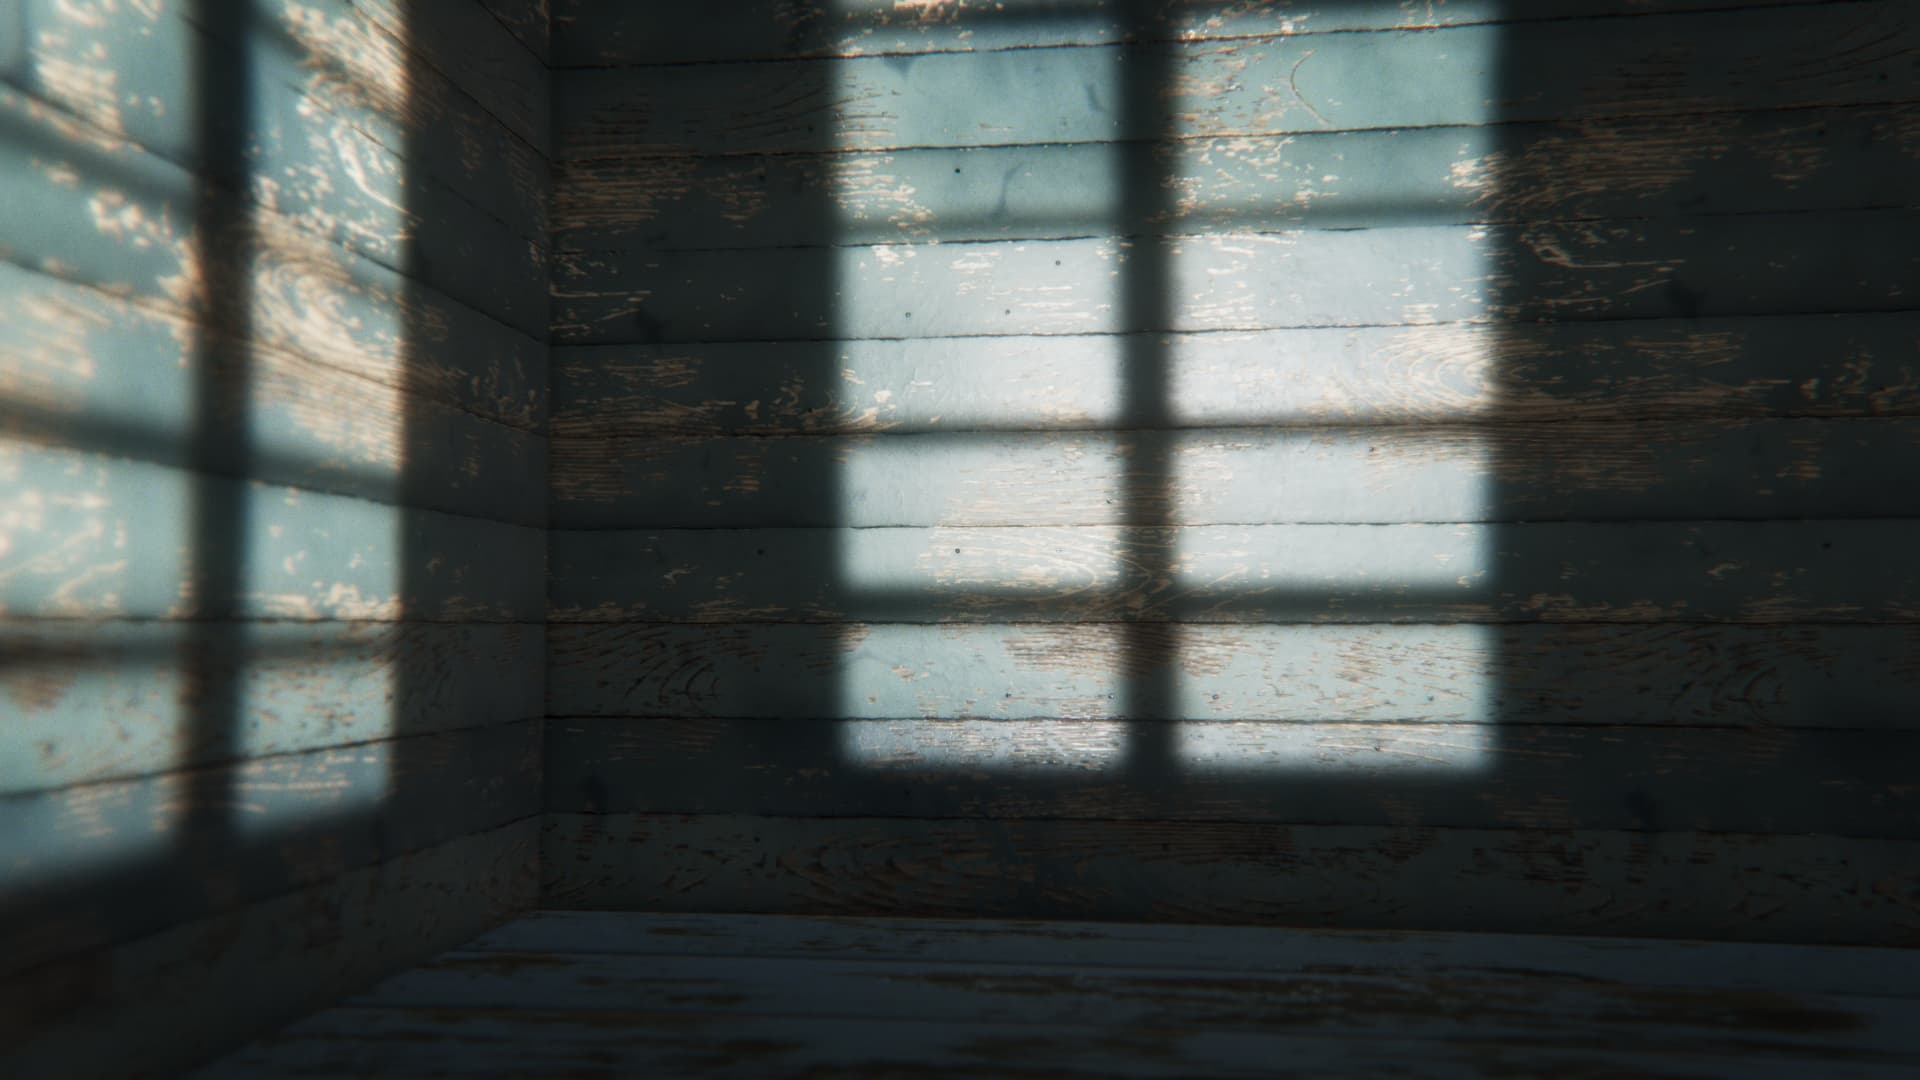
Not quite a train station, but was able to do a reasonable bit of atmos in this shot…
This is actually something I’m super interested in. Would love a community project where we share a common geo only cg scene and open up for people to try. Testbench style. See what’s possible when common sense flies out the window. Like a logik challenge that can be revisited over time and improved. I’m positive some interesting workflows would result. Aim for maximum fidelity and refine as flame adds features. Almost like a lighting technique benchmark.
I don’t know if this helps but @Stefan did a very good series of Flame walkthroughs using IBLs and procedural PBR textures in version 2018. The first one was full 3d space from scratch and then two further are a bit more distant from this, but the second touches a little on this.
Do you have access to who built the cg model? If you could get different materials/surfaces split out in a sensible and usable way, that would help. But it’s still a big lift for photoreal…
i asked autodesk if they would ever open up something like action to offline render engines like arnold, its jot really on their radar but I would love to see this happening.
Honestly i would just light and render it in blender with cycles… its free ?
Also, turn on ambient occlusion. It is screen space based but still, works wonders. I would first go at it by creating something that looks like global illumination with a matte gray finish and then add textures.
+1 for AO, might want to use the matchbox (stingray_ambiant_occlusion) (+ a bit of stingray Bloom?)
Then output a bunch off passes and utilities, render them all and comp away.