I selected all stills in a Reel(still duration of each single shot/Tiff: 00:00:02+08), right-clicked and choosed Splice Selected. Then clicked on another Reel to make a single clip of all the frames.
Most of the stots in the Reel are landscape shots and some few portrait shots (without any black borders).
Question:
Why after ‘Splice selected’, large black borders are added to the portrait shots at their left and right?
When you splice frames of different sizes and aspect ratios they will all be resized to be consistent with the first frame. The resize depends on how you have the default set. Yours is likely set to letterbox.
Thank’s for the help! I checked it and yes. it depends upon the first frame!
Nevertheless I am wondering if it’s possibe to remove those black boarders… Non of the Resize-options like ‘Fill’, ‘Crop Edges’ ‘Letterbox’ and ‘Centre/Crop’ does the job in a good way, because the aspect ratio of the shot should not be changed.
In a nutshell . . . . no. All frames in a clip need to be the same size and aspect. I know of no software in which that is not the case. You can change the colour to something else, or you can put them over some sort of background, such as what one often sees on the internet in which the image is superimposed over a copy of itself blown up large and heavily blurred.
Sorry for re-activating this thread… but was unable to put your advice into practice. Do you see a possibility to paste/attach a picture of your solution?
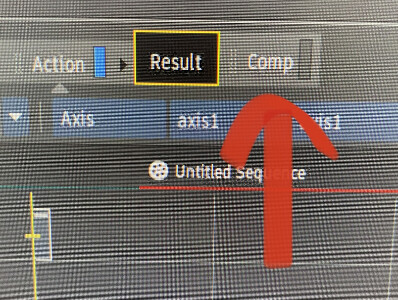
wild guess, but try turning on the “comp” button of the upper layer in the timeline. It should come just after the “action” button. That will make that layer pay attention to the crop that action is applying.
Thank’s for the feedback!
→ That will make that layer pay attention to the crop that action is applying
OK… thank’s for mentioning that! I am not kidding, but many times I was questioning what this additional layer is for:)
Unfortunalety activating “Comp” did not solve the issue…
for examle there is not black landscaped area in effects
(the small black boarders do come probabbly from scnning the diapositive)
superimposed effect is not shown as in ytf’s example
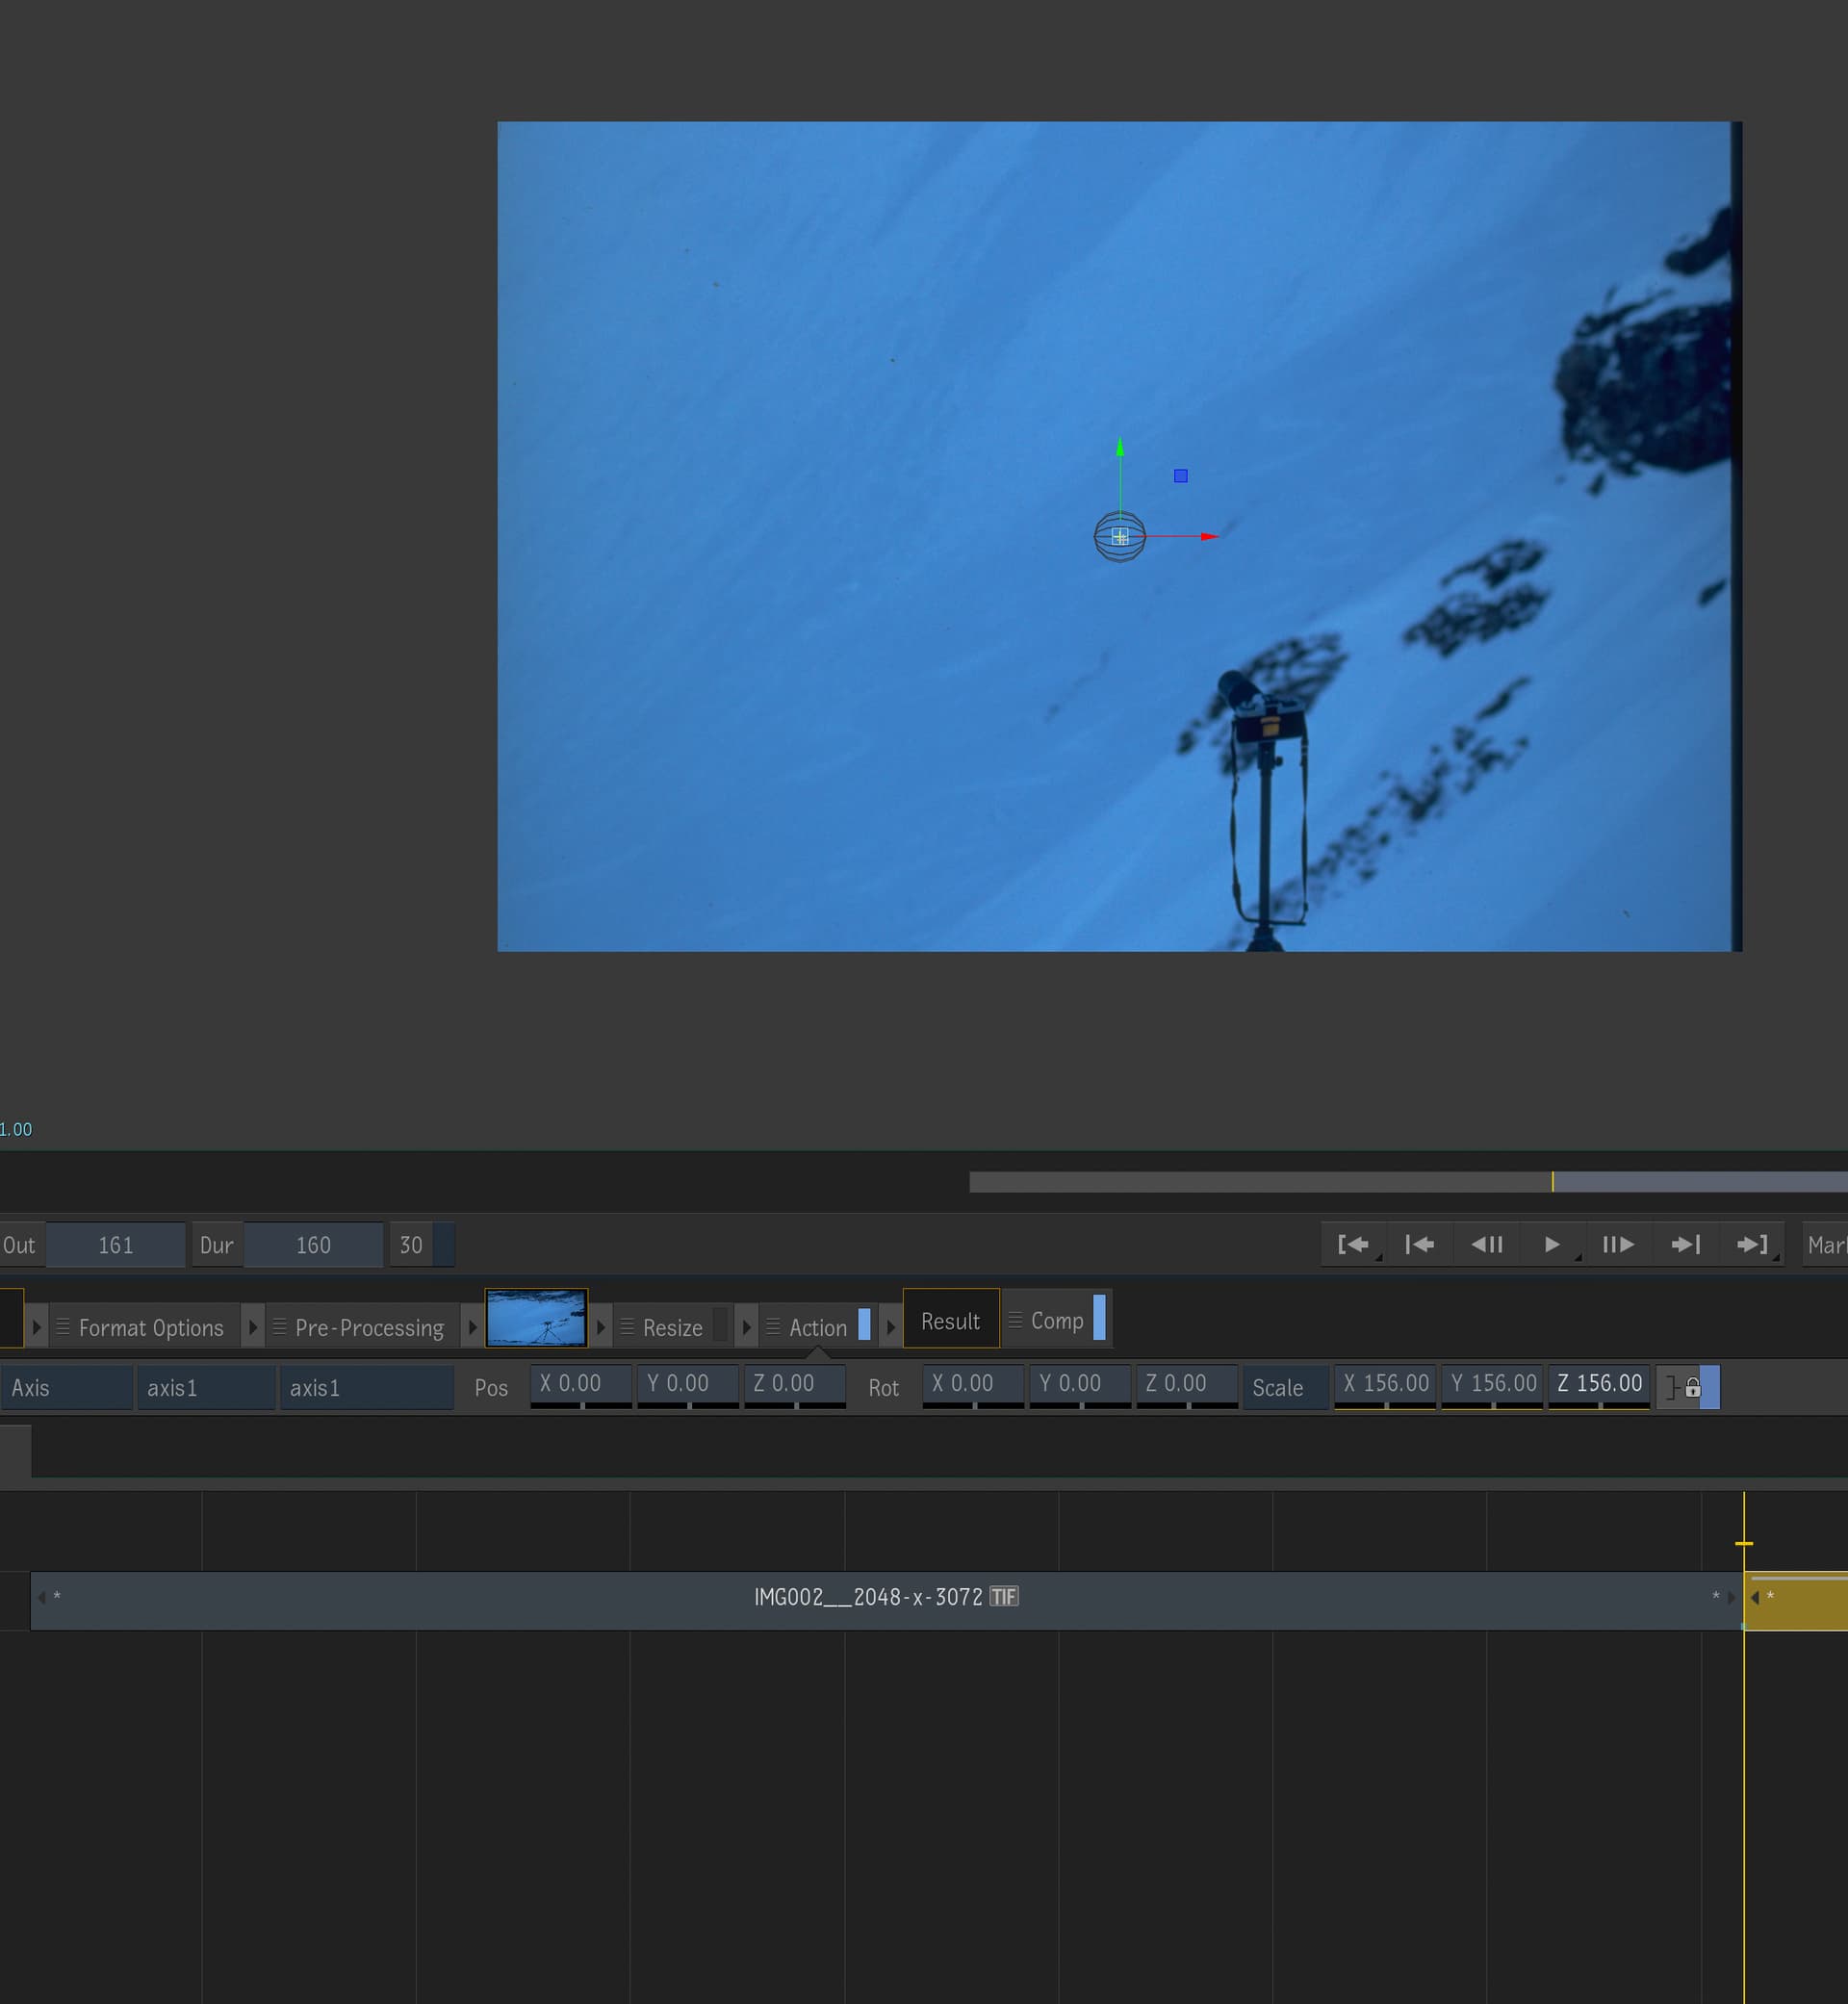
Nevertheless I am wondering why the portrait shot of the cat is not resized whereas the portrait shot with the camera on the tripod is cropped massively when shown in Timeline?
Its a little hard to tell why but I believe its because your source photo is a different resolution from your timeline. Thats why the first step is important. If you want your final video to be HD then you need to resize your source photo to HD using letterbox before you start applying the effect.
You may also be able to just scale the photo down in action the same way you’re scaling the background photo up.
Not sure if i do understand that. The clip consists on mostly landscape photos which can be used without any changes. Does the resolution of those shots be changed too? My idea was that I don’t have to care about resolution in Flame.
Did not find out the resolution of my Timeline but I expect it is HD because during creation of the project (Create New Project → Resolution → HD 1080 )16:9
When the button “Format Options”(beside FX Ribbon) is pressed, the original resolution of the footage is shown (2048 x 3072)
Conclusion: I am unable to determine the resolution of the Timline (I am using Flame 2021.2, but will soon update)
->1. resize the image to the final desired resolution using letterbox
For the superimposed effect (making the portait shots look like a landscape shot) this makes sense to me, but not for the majority of the landscape shots, because “resize” does crop parts of the photo away…
You can determine the resolution of your timeline as described above or you can look in the lower right hand corner of the viewer when you have the timeline selected. The resolution should be displayed there along with the aspect ratio and colorspace. If you created a timeline by right-clicking in your reels and selecting New > Sequence then your timeline is most likely your project resolution(HD), but if you started making a timeline by dragging one image onto the timeline of the another image then your resolution is most likely the resolution of the image.
For the landscape shots that are in your timeline, if they are already 16x9 then you should be able to resize them without cropping them. If they are not 16x9 then they will need to be cropped in order to fit into an HD timeline.